Categories
desserts

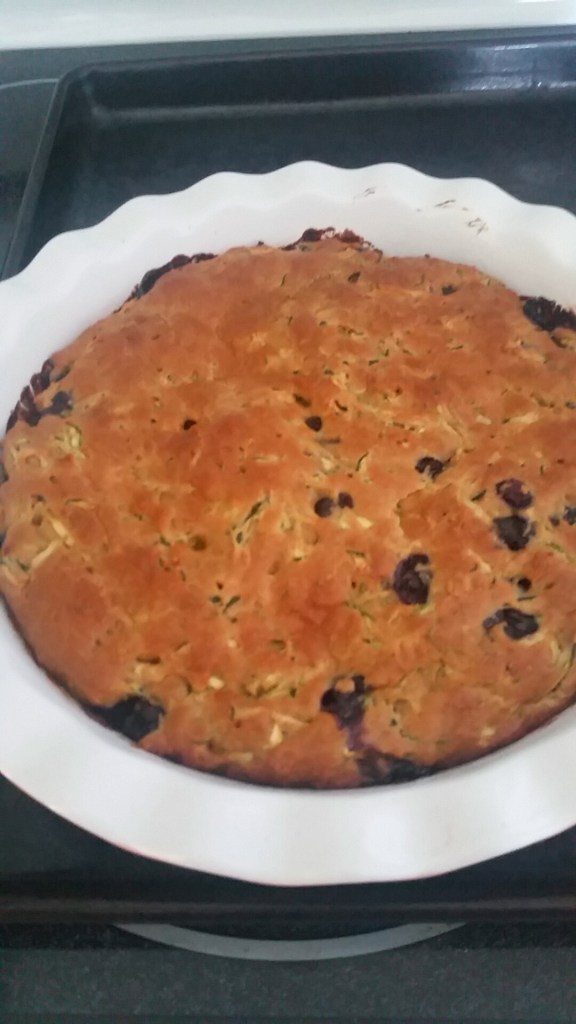
Blueberry Lemon Zucchini Cake

Blueberries and lemons are a match made in heaven. The grated zucchini and Greek yogurt make this bread taste more like a decadent cake. Do not skip the glaze. It is full of lemony flavor that really brings the entire dessert/coffee cake/zucchini bread together.

Blueberry Lemon Zucchini Bread

  • Servings: 8
  • Print

Ingredients


1 1/2 cups all purpose flour
1/2 teaspoon baking powder
1/2 teaspoon baking soda
1 teaspoon cinnamon
1 pinch salt

1 lemon, zest and juice
1/3 cup coconut oil
1/2 cup coconut sugar
1 egg
1 1/4 cup grated zucchini (about 2 small)
1/2 cup vanilla Greek yogurt (1 single serving cup)
1 cup fresh blueberries

glaze
1 lemon, zest and juice
1 cup powdered sugar
1 tablespoon milk

Directions

  1. Preheat oven to 350 degrees F.
  2. Spray a deep pie dish with cooking spray. *You can also use a loaf pan if you prefer.
  3. Combine the dry ingredients: flour, baking powder, baking soda, cinnamon, and salt. Set aside
  4. Whisk together the wet ingredients: lemon zest and juice, oil, coconut sugar, egg, and Greek yogurt. Stir in zucchini last.
  5. Add the dry ingredients to the wet and stir until almost combined.
  6. Fold in the blueberries. Be careful not to overmix the batter. An overmixed batter makes for a tough bread.
  7. Pour into the prepared baking dish and smooth out the top.
  8. Bake for 40 minutes. The top should be golden brown and a toothpick will come out clean. Drizzle on the glaze while the cake is still warm.

Advertisement
Categories
breakfast

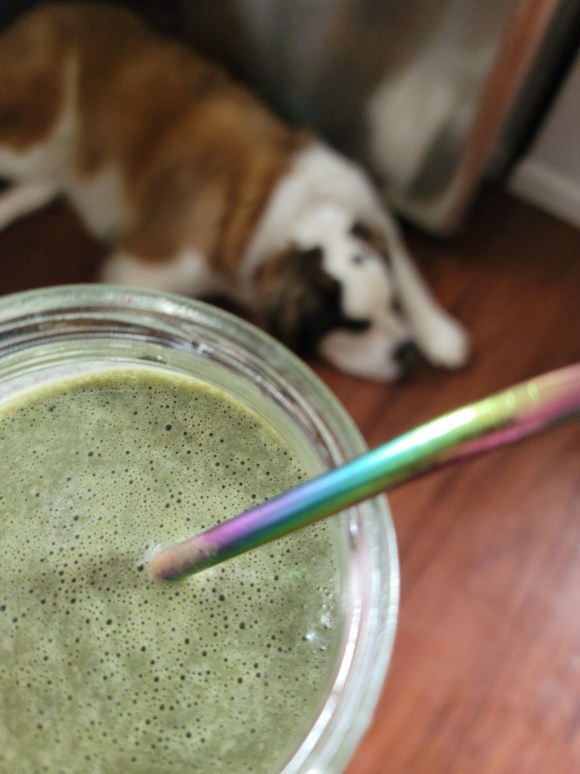
PB&J Green Smoothie

So delicious and nourishing you’ll crave it everyday.

Best Ever PB&J Green Smoothie for 1

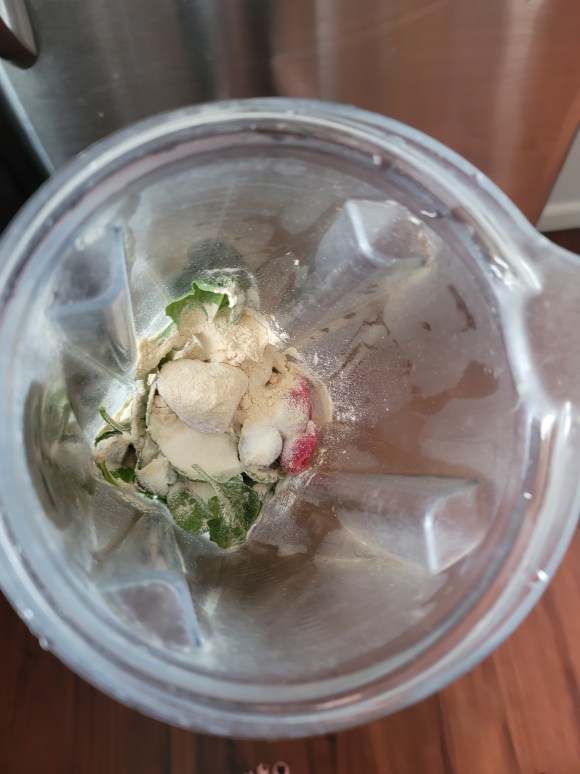
1 cup unsweetened almond milk ( or coconut, oat, regular cow)

2 big handfuls of spinach

1/2 cup frozen cherry berry blend*

1 Tbs maca powder (Optional)

1 scoop plant based vanilla protein powder

1 scoop unflavored collagen peptides

1 Tbs peanut butter (I like one that is just peanuts, oil, and salt)

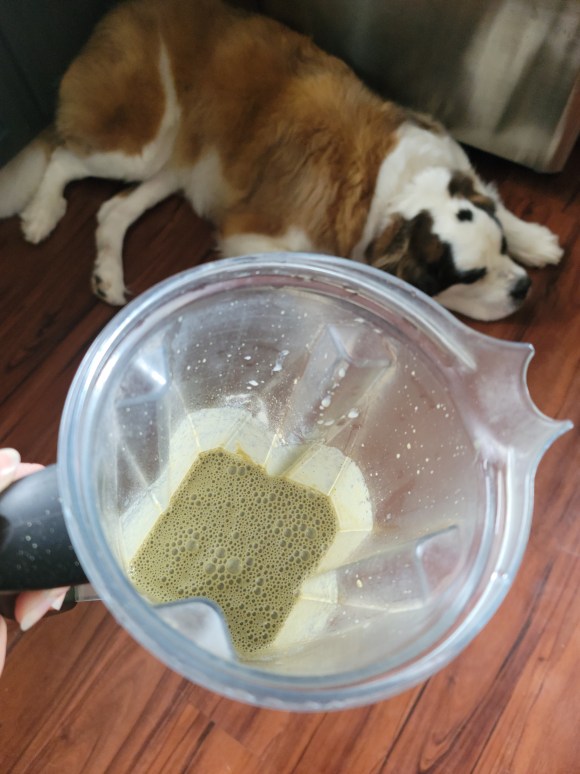
I blend everything in the vitamix until smooth while Buffy, my Saint Bernard, enjoys the leftover peanut butter from the spoon.

*The cherry berry blend I use contains strawberries, blueberries, tart cherries, and sweet cherries. Feel free to use your favorite blend. Think of the kind of jam/jelly you like and go with that or switch it up.

What’s your favorite flavor of jam/jelly for a PB&J?

Categories
Gardening

Vegetable & Herb Seedlings

Seedling Diaries Vol. 1

April 7, 2021

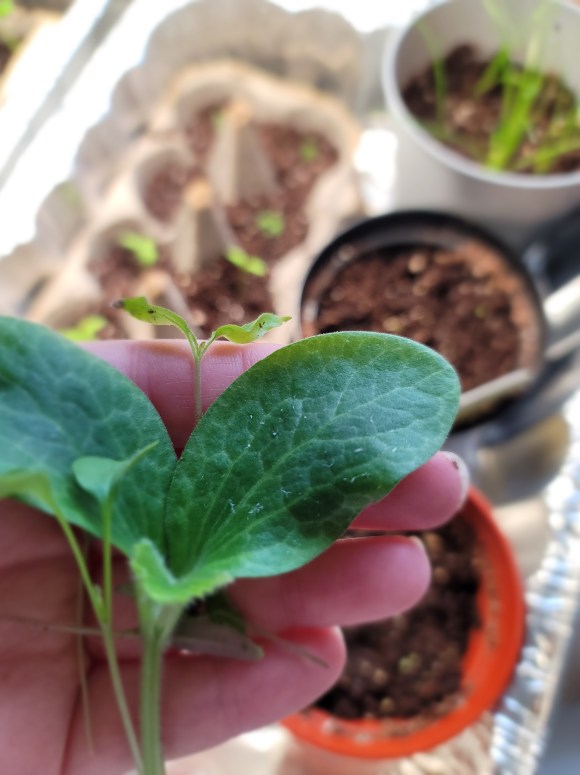
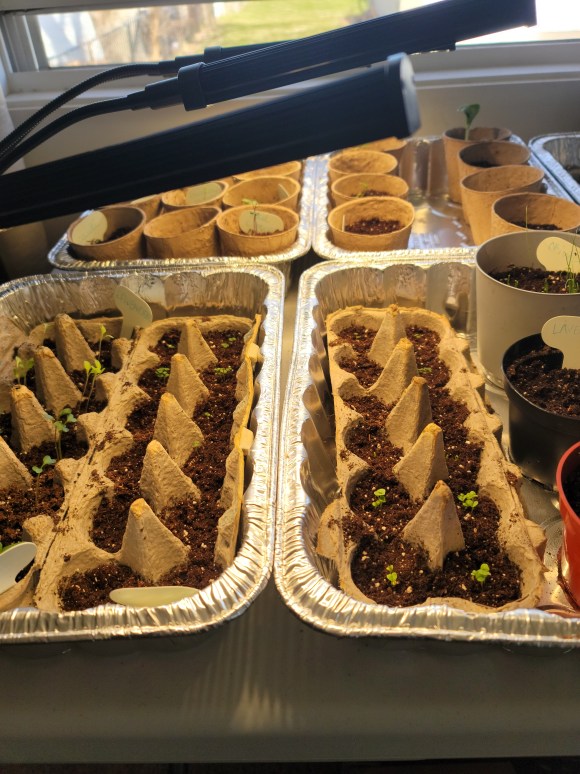
Guys, I did it. I was finally able to successfully start vegetable and herb seeds indoors.

In years past, I’ve tried and failed miserably. I’m talking not a single little green sprout. However, I’ve learned a few things along the way that I’d like to share with you all.

  1. Temperature: make sure those little babies don’t get too cold. I think this was a major problem in my nearly 100 year old home.
  2. Good Seeds: I went with non-GMO organic seeds instead of the ones from the clearance aisle that were most likely expired
  3. Light: I actually purchased a little light that clamps onto my table. It made such a difference! Plus, it has a timer. Score!
  4. DIY Greenhouse: aka putting plastic wrap tightly over my seeds until they germinated.
Seedling Update

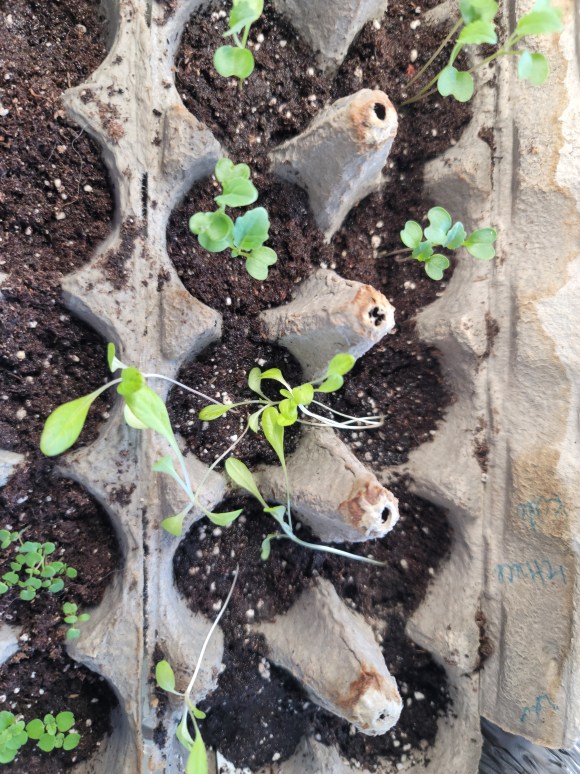
My seedlings are 6 weeks old and I won’t lie to you, I thought they’d be bigger and more established by now. Many sources say to start the seeds I chose 6 to 8 weeks before the last frost. I’ve noticed that some others in zone 6 started their seeds in February. Maybe, this is something to note for next year. Though, I am hoping that they will take off once I plant them in my elevated garden bed.

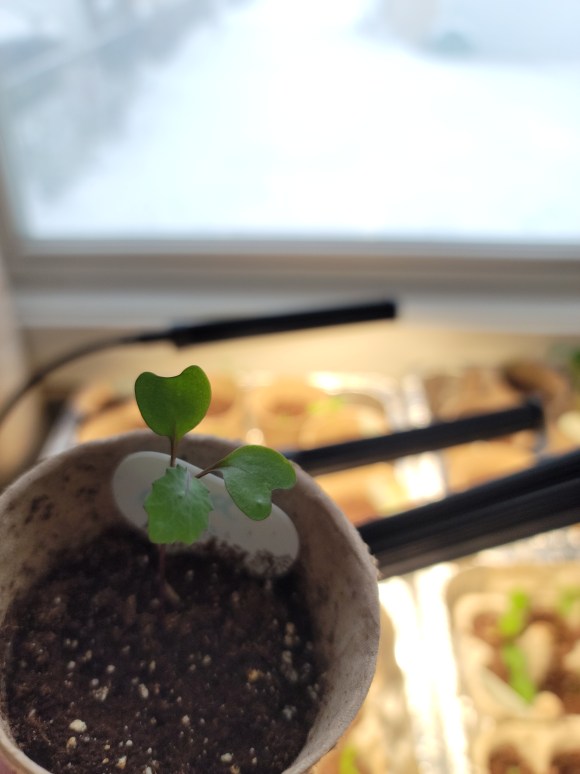
I am happy to report that just about every seed that I planted germinated! I was not expecting that at all. So, I decided to thin out some plants a little earlier in order to give the others room to grow and stretch their roots. My lettuce seedlings were looking a little leggy, so I moved them into larger pots where I could plant them deeper. Fingers crossed for my lettuce!

Next week I will start the hardening off process.

On a side note, I’d really love a living wall full of beautiful plants.

Categories
appetizers Recipes sides

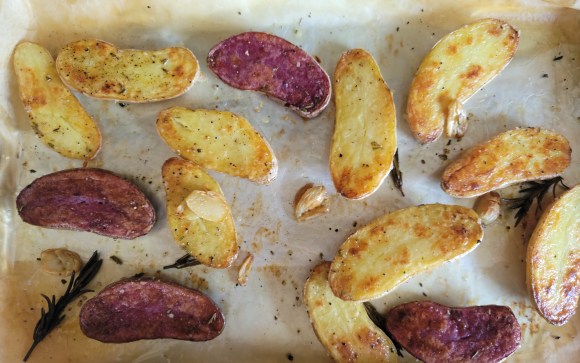
Fingerling Potatoes with Rosemary and Garlic

Featured

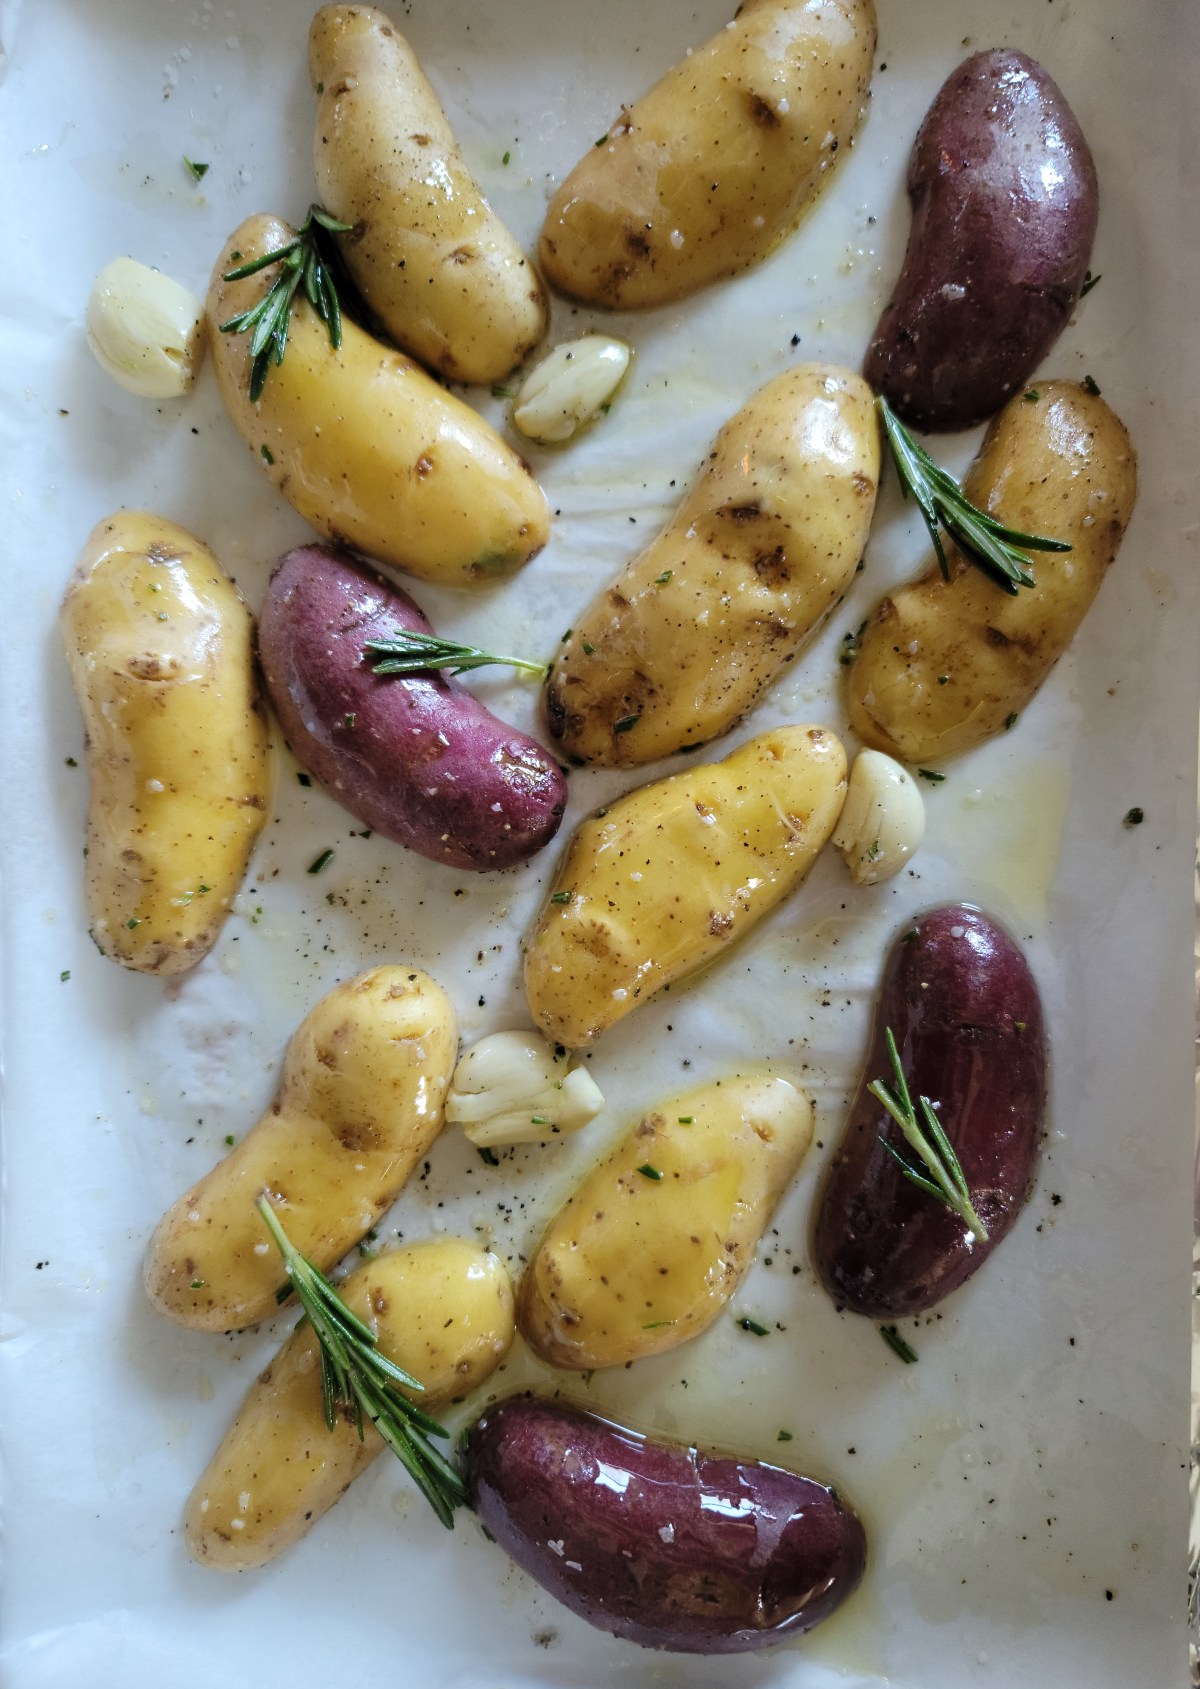
These potatoes are one of my favorite side dishes ever. They look impressive enough to make for company, but are easy enough for a weeknight dinner side. Plus, the aroma of garlic and rosemary is truly intoxicating. That being said, I know that rosemary can be a bit polarizing. So If you aren’t a big fan, thyme would be a delicious option.

Roasted Fingerling Potatoes with Rosemary and Garlic

Fingerling Potatoes, scrubbed

Fresh Rosemary

3-4 Fresh Garlic Cloves (Smashed and Peeled)

Salt

Pepper

Olive Oil

  • Preheat the oven to 400 degrees. I like to use the convection roast setting on my oven
  • Line a baking sheet with aluminum foil and then a layer of parchment paper. (You can skip this step if you aren’t feeling as lazy. I don’t always do this because it isn’t as environmentally friendly as just washing your pan…but the appeal of an easy clean up won out today.)
  • Slice your thoroughly scrubbed fingerling potatoes in half lengthwise. I used about 6 potatoes, so half of a little bag. That is the beauty of this recipe, it will work if you have 3 potatoes or 12. Just adjust the seasoning and oil to coat.
  • Place your potatoes and garlic on your pan. Drizzle with a generous tablespoon or so of olive oil, a good pinch of salt, and fresh cracked pepper. Toss to coat.
  • Scatter the rosemary sprigs over the potatoes.
  • Optional: If you really love rosemary, like me, mince about half a sprig and sprinkle it over the potatoes. This will ensure that you get rosemary in every bite. The full springs will infuse the potatoes with their flavor, but this just adds a little extra.
  • Roast for about 30 minutes until golden brown on the outside and light and fluffy on the inside.
  • I like to taste a potato for seasoning. Potatoes need a good amount of salt to really shine.
  • Pro tip: keep an eye on your garlic cloves. Pull them out if they get golden brown too quickly. You can add them once the potatoes have finished cooking. No one likes burnt garlic!
Categories
sides

Simply Sautéed Mushrooms

Simply Sautéed Mushrooms with Garlic

8 oz button mushrooms

avocado oil

salt

pepper

2-3 garlic cloves (you can scale back to just one if you aren’t a garlic lover like me. I use 3.)

Wipe your mushrooms with a damp paper towel to remove any dirt that may still be on them. I prefer buying whole mushrooms because it is impossible to clean the already sliced ones properly.

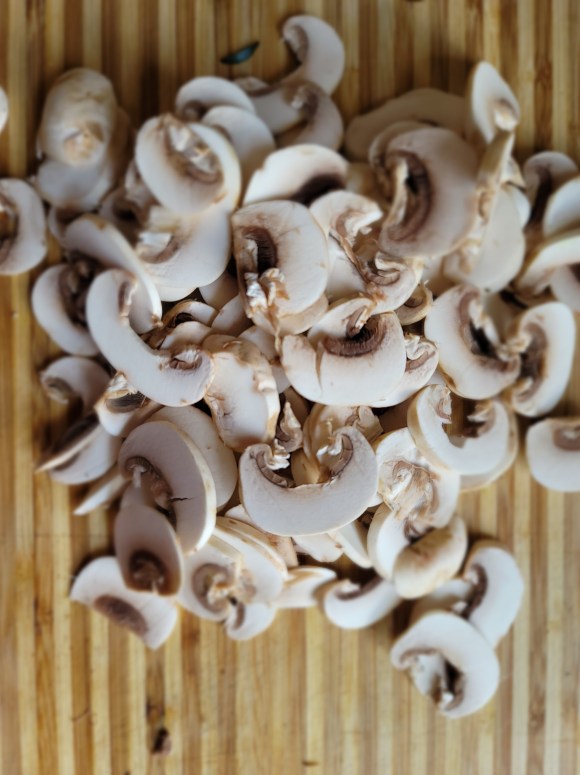
Slice your mushrooms thinly while your pan heats up to medium high. Mushrooms have a ton of liquid and we want to pull that out of them in order to achieve a golden brown and delicious result.

Pour about a tablespoon of avocado oil in the pan and swirl to coat.

Drop the mushrooms in, trying not to overcrowd your pan. Cook on medium high, stirring every so often until the mushrooms release their liquid and start to brown. If the pan becomes too dry, add a splash more oil.

In the meantime, you can mince your garlic.

Turn the heat down to low and add your salt, pepper, and minced garlic. Stir frequently. You want your garlic to become a little golden but not burn. If I’m using my cast iron pan, I will even turn it off when I add the garlic because the pan retains heat so well.